I finally live somewhere where it only takes 30 minutes to get to a splitboard-worthy terrain. During the last snow storm, overly excited, I got carried away and made some mistakes. The BOA dial on my brand new boot fell victim to my poor choices. It got clipped off clean.
Read about how it happened and how I fixed it.
How I Broke the BOA Dial on My Snowboard Boot
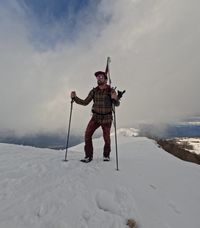
I headed out while it was still snowing to lay down some fresh skintrack under Monte Cornetto by Trento. I am very familiar with that area so I knew where to stay to stick to the low-grade avy-safe terrain. No mistakes in that aspect.
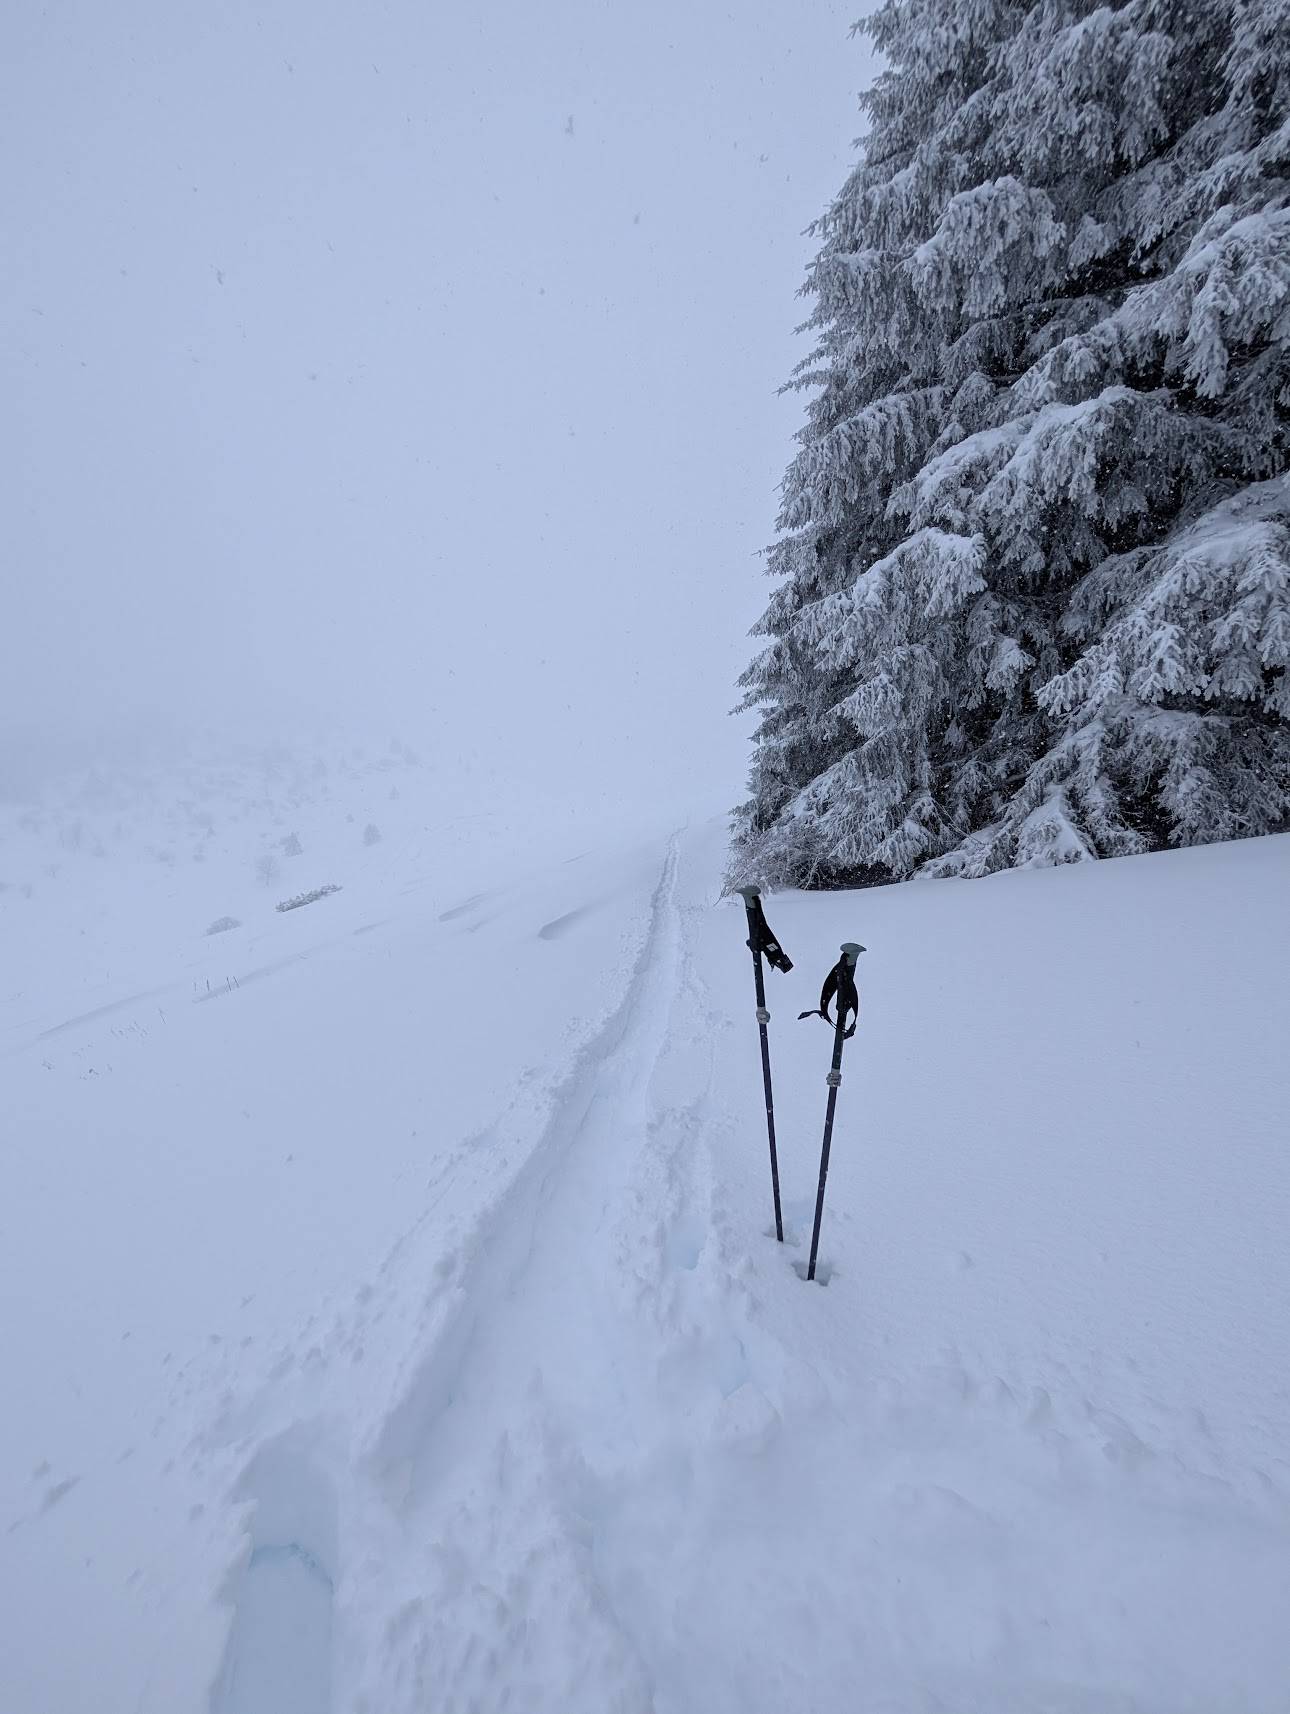
The mistake I did make, though, was underestimating the amount of snow it dumped overnight. I spent over 2 hours plowing through the snow only to cover distance that usually takes me about 40 minutes.
I was miserable but I didn’t mind that much, I kept thinking about the nice turns I was going to bag on the slope I picked. That was mistake no. two. The slope I picked was perfectly safe, under the trees, ending basically by the road but the grade was too low for the amount of snow there was.
At the top, I put my board together, ready to “drop in”, aaaand nothing happened. I could barely move move. The tip of my board kept sinking under the heavy blanket of the snow and I was struggling to dig it out.
After another hour and exactly three (3) turns, I made it to the bottom. Far, far, from the road. Defeated and exhausted, I decided to switch back to the touring mode, and splitboard back to the car.
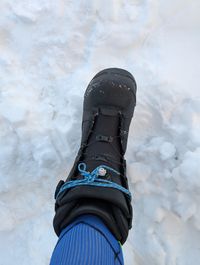
I undid my bindings and stepped out. Unfortunately I missed the board and I immediately sunk hip-deep. As my foot was falling through the snow, I heard a crack. Suddenly my boot felt loose. Oh no.
Turns out the front BOA dial happened to be too close to the board and the edge clipped it off clean. Amazing.
I had a piece of cord on me, so I made a makeshift lace and limped back to the car. That was one successful tour.
What I Learned About the BOA Company and Their Warranty
On my way home, I was in a bad mood. I just bought these boots and they were not cheap. I already saw myself either begging K2 to accept my warranty and dealing with international shipping or arguing in my broken Italian with the local store I bought the boots from. Fun times ahead.
For a brief moment, I even contemplated 3D printing the broken dial. While I was researching if it was doable, I actually found out that all the BOA systems on all the different boots and shoes around the world, come from a Colorado-based company! I had no idea.
Digging deeper, I learnt the unimaginable. Not only they have an awesome product, but they actually care about the customer (me) and also about sustainability.
Turns out that the system is highly-replaceable, and extremely user friendly. You do not have to chuck your entire boot if the BOA is broken, but you can repair it. Even better, they will send you the repair kit for free and you can do it yourself. That is something almost unbelievable in 2026. We need more companies like this!
How I Repaired the BOA Dial on My Snowboard Boot
The morale was high again and I set out to save my boot.
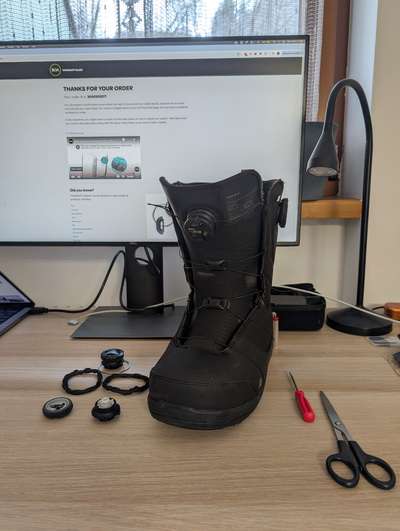
First, I went on the BOA warranty website to secure my free repair kit. That process is extremely smooth. You click through a few questions, select your gear, and upload a few pictures. Just to make sure you get the correct kit for your product. In about 10 minutes I was done, and my free order was accepted.
Now we wait.
It took less than a week for my repair kit to make it to Trento. That was faster than expected. Now the surgery begins.
The whole repair process is equally easy as getting the repair kit. They have a whole library of detailed, easy to follow, guides.
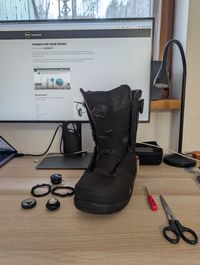
In the kit, I got 2 replacement dials, 2 pairs of fabric laces, and one piece of the metal string lace. On top of that I got a little screwdriver too. So you really don’t need any supplies or tools of your own at all.
First thing I did was to use the screwdriver to pop the broken dial out of the boot. Pretty straightforward. Next, I just dug out the lace ends from the broken dial and trimmed off the knots.
In my case I had more than enough lace real estate left and I didn’t have to use the replacement ones. I then threaded the laces through the new dial, tied the knots, pulled them in snug, and popped the dial back in the boot.
Finally, I used the screwdriver again to lock the dial back in the boot again.
And that’s about it. The patient survived and the dial is happily clicking again.
Final Thoughts on BOA Snowboard Boot Durability and Repair
This was a rollercoaster of emotions. From the frustration after breaking my boot, learning about the company, to the joy of successfully fixing the boot myself. To be honest I am delighted that there are still companies that take pride in the functionality of their product and the user experience over squeezing the last penny out of the customer. Way to go BOA.