VIA. - JUN 13, 2026 - 01

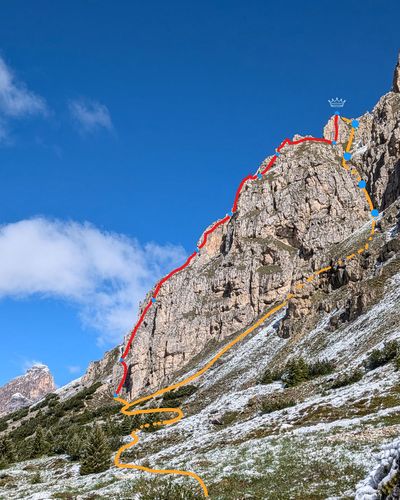
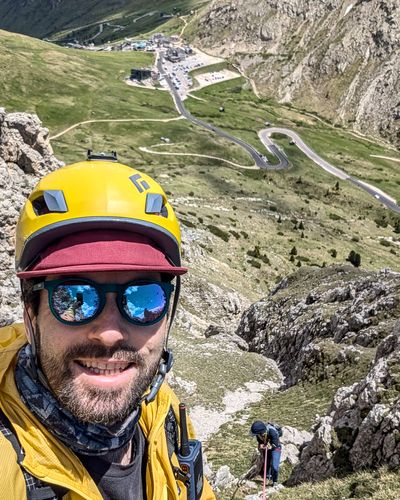
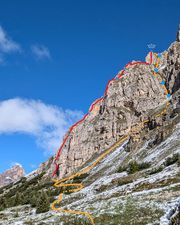
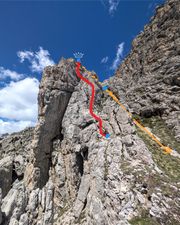
Via Rodeo is one of the more modern routes in the Sella-Pordoi area. Established in 2013 by M. Bernardi, it follows the south ridge of the lower rocky outcrops of Sass Pordoi to the summit of a modest pillar - Pilastro Moni.
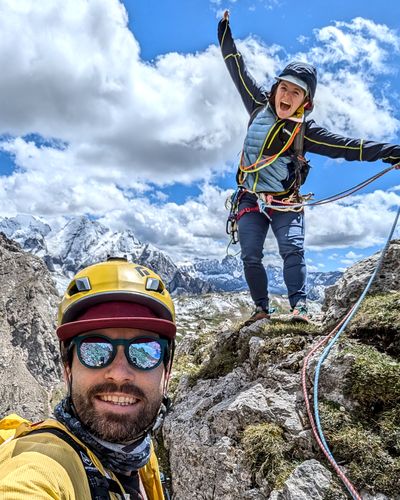
It's 8 pitches of easy climbing on great rock. Routefinding is straightforward, approach is basically non-existent and descent is not bad either. Set in the stunning scenery just below the Pordoi pass, it makes for a great day out whether you're just breaking into alpine climbing or you're an experienced trad climber looking for a chill day.
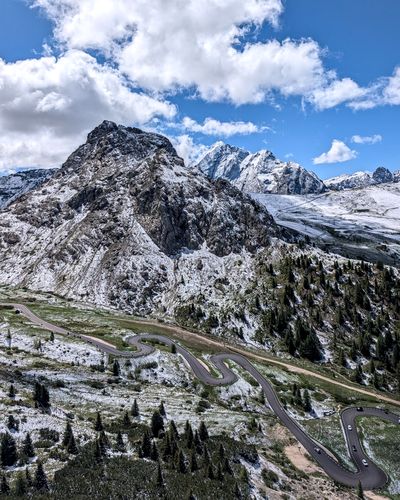
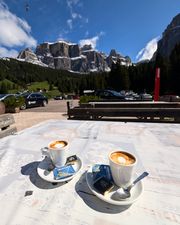
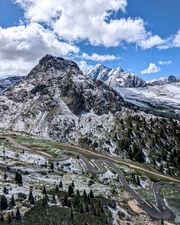
Parking • Pilastro Moni • Passo Pordoi
The route sits directly above the Strada del Pordoi going up Passo Pordoi from the west side. Parking anywhere along the road is fine, but the closer to the top, the better. Ideally you want to park in the last bend just below the pass.
P1
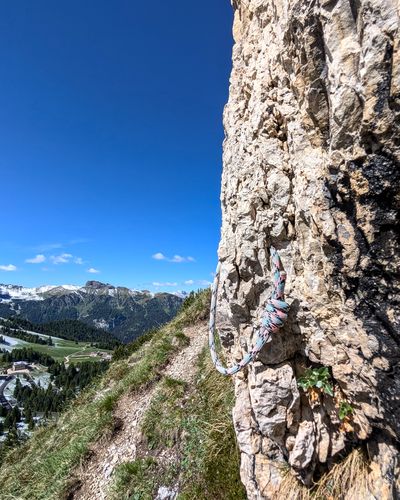
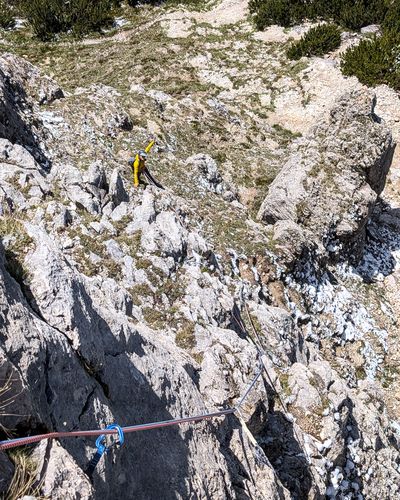
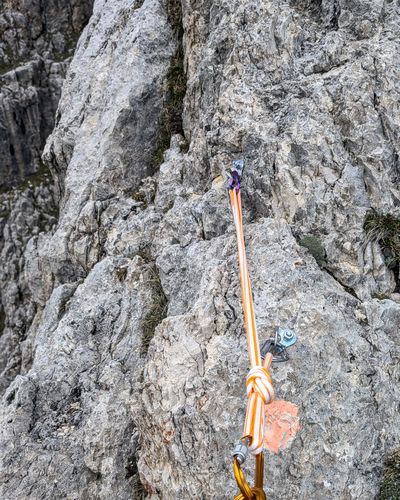
Start right at the trail and climb up a bit to the right of the initial sling. There's a blue bolt a few meters up and then the route veers to the left over some grassy bits. Aim for the obvious ridge going straight up. There's a sling anchor right below it.
The route goes more to the left than we expected and so we ended the first pitch prematurely at the penultimate sling. But it doesn't really matter.

P2
Follow the obvious ridge going straight up. There are 4 slings along fun, more vertical climbing on good holds.
The pitch ends with a blue bolt protecting a small bulge. Climb it on the right side and exit onto a generous ledge with a cemented ring for an anchor.
One of the more fun pitches.

P3
Traverse two meters left and climb diagonally back to the right to overcome the bulge above the anchor. Or climb straight up using the crack above the anchor to spice things up.
Continue following the ridge up through 4 slings, then cross a short grassy scrambly part and aim for a west facing, yellow niche on the left side of the ridge. There's a cemented ring in there for the next anchor.
Walkie-talkies might come in handy here as you won't see your partner and crossing the grass might get a little rope-draggy.
P4
Exit the yellow niche on the right and make a few fun moves up a dihedral on the right side of the ridge. It looks exposed but it's not.
After those few moves and clipping a sling, scramble up over another grassy meadow towards a cemented ring in a vertical wall.
P5
Another fun pitch with some good climbing. Start following the ledge going diagonally up to the left towards a big dihedral.
Cross over to the other pillar on the left (earlier than you'd think), clip a sling, and climb up to a blue bolt.
Climb to the top of the pillar crowned by a rock horn that used to be the original anchor. There are two bolts a few meters further marked by some orange paint.


P6
Super short pitch, just a few moves up the ridge protected by 2 slings. Then cross another grassy meadow up to a cemented ring slightly to the left.
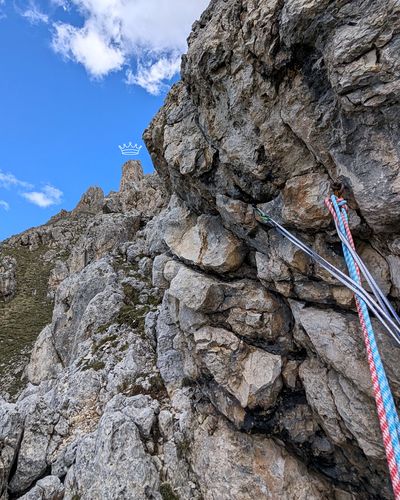
You should be able to see the Moni pillar a bit higher up on the left side of the ridge from the belay.
P7
Exit the belay station to the left, and climb back over the ridge to the right. Scramble up on the right side of the ridge to a small pillar with a sling at the top.
Downclimb the pillar to get to the meadow behind it, still staying on the right side of the ridge.
We ended the pitch there to avoid the rope drag and we crossed to the base of the last pitch unroped. There is no exposure and there is an actual visible trail there.
P8
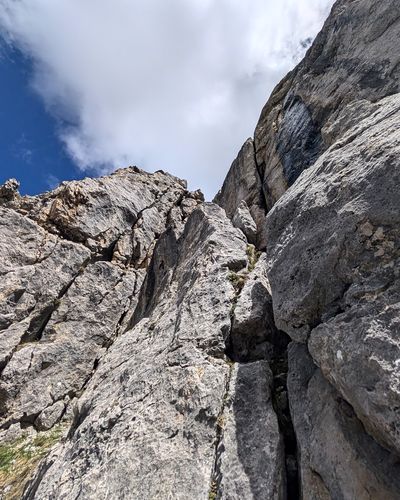
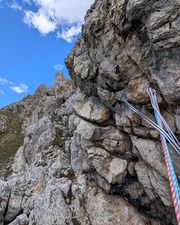
Last pitch starts on a rock horn under the vertical yellow rocks.
Climb over the gray rocks on the left of the rock horn to a blue bolt and then follow the slings up towards the dihedral on your left.
Cross the dihedral onto the Moni pillar on the left and climb up to the summit. We used a quad sling to make an anchor over the horn at the summit of the pillar.
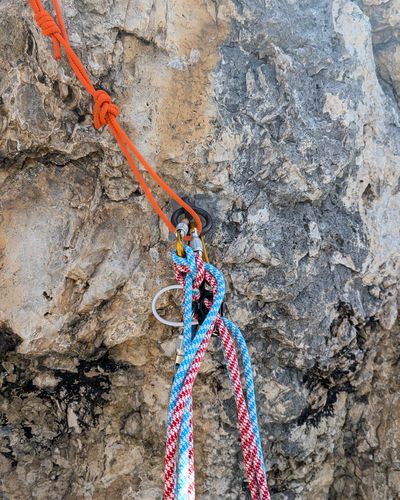
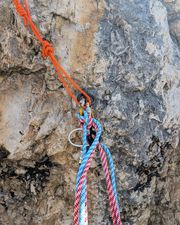
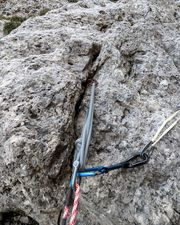
The first rap station - sling and a piton with a rap ring - is visible from the summit. Downclimb on the other side of the pillar, keeping on the right side of the ridge, to reach it.
We used a single 60m rope and did consecutive rappels down through the grassy channel. We didn't have to do any downclimbing at all in the end.
You could get down in just 2 rappels with twin ropes, but the chance of getting your ropes stuck in the rocks in the channel seemed pretty high so we played it safe.
There's a lot of loose rock in the channel so be careful not to kick some onto your partner's head.


After the last rappel, follow the animal trail down the channel as it opens up. You'll see the road you parked on the whole time and eventually you end up on the approach trail close to the base of the climb.
10 minutes later, you should be back at the road.
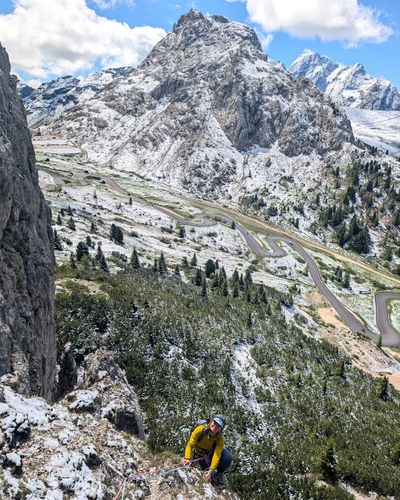
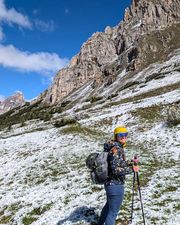
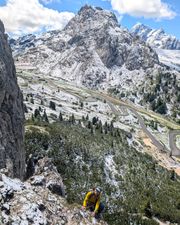
The route is at a decent elevation so even in June we got surprised by snow early in the morning.
The ridge is south facing and it's not very exposed so it's likely to be mostly dry and sunny. Although the grassy patches and the descent channel might be slippery after rain or snow.
We found mixed reviews on the route online but we really enjoyed it.
Some people complain about crossing the grassy patches and finding the upper pitches in the meadows but we didn't have any problems with that. Yes, some of the pitches are not super steep and you might need to cross some grass but it still felt like one long route.
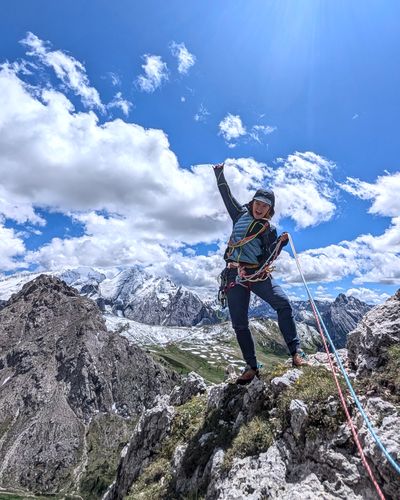
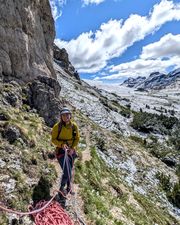
It was our first time climbing an alpine trad route of 8 pitches and it was actually perfect. The route is easy to follow, the belays are comfortable, you can take your time practicing placing gear and building anchors while still being in the stunning setting of Passo Pordoi.
The short approach and easy descent make it perfect for a day trip without too much planning.