VIA. - JUN 19, 2026 - 01


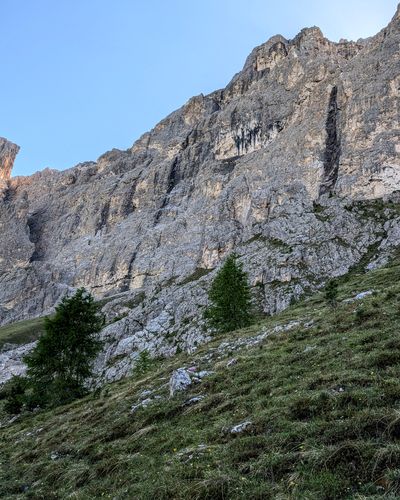
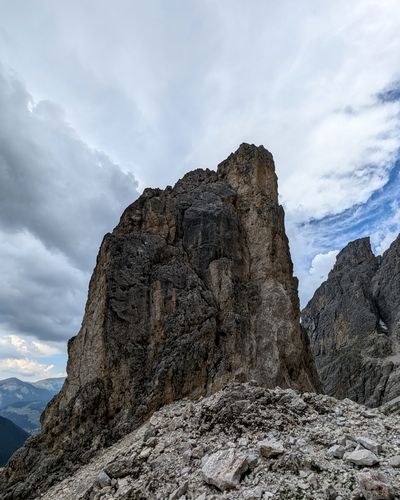
Via Rododendri is another relatively new route by M. Bernardi. Located just 15 minutes from the road from Val Gardena to the Sella Pass, it climbs a small pillar nestled below the huge vertical walls of the Sella massif.
It's 6 pitches of relatively easy climbing on mostly great rock. It's split in two parts with a 50m meadow break in between. The route is well equipped and it only takes one roughly 40m rappel to get down.
Val Gralba • Piccola Torre • Passo Sella
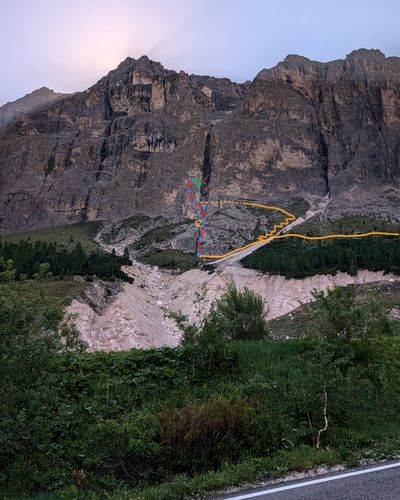
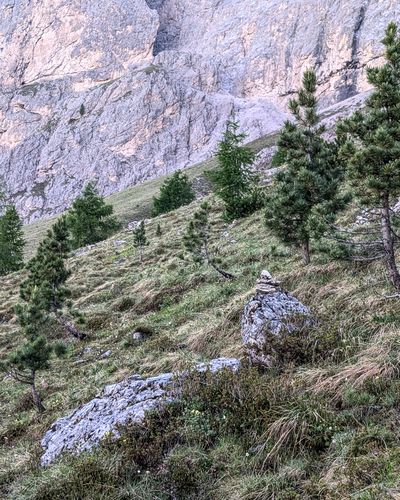
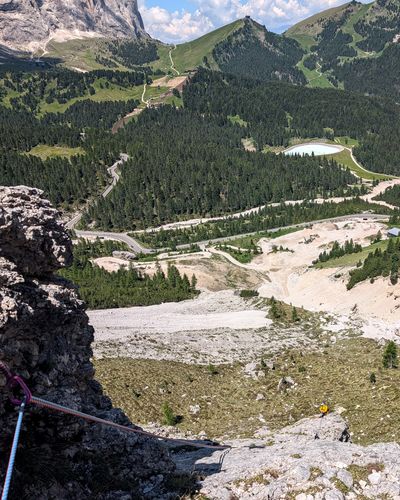
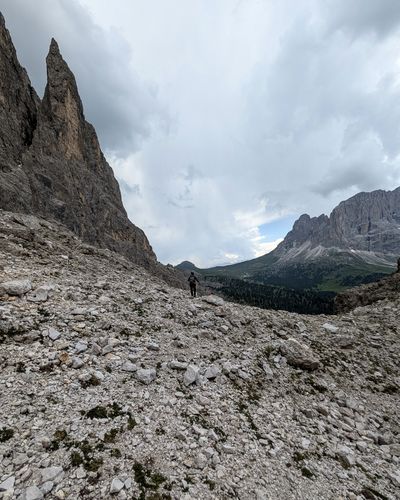
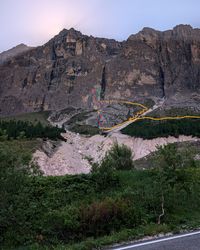
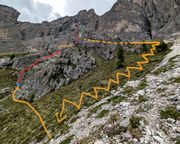
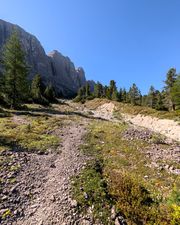
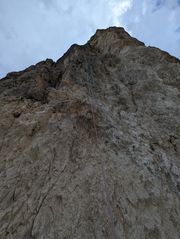
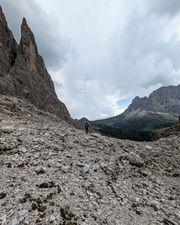
The route is about a 15-minute hike from the main road from Val Gardena to the Sella Pass. It's located above the distinctive gravel quarry by the road and the tower itself is visible from the road too.
Unfortunately, most of the gravel pullouts by the road have been blocked off on this side of the pass so the original parking option is no longer viable. Instead, you can park a bit lower, by the Val Gralba crag. This adds about 15 minutes hiking along the road up to the start of the approach trail.


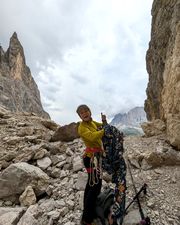
P1
Start at the thread and climb straight up. You should see at least 2 more threads above you.
After a few meters of fun moves, you gain the ridge and the route flattens out a bit. Veer left closer to the edge of the ridge and then scramble straight up through a few slings.
Eventually the route gets steeper again. Overcome the short vertical section with a few fun moves and arrive at the anchor made of a bolt and a new-looking piton.
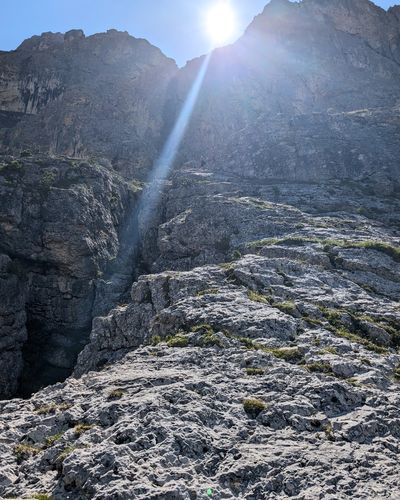
At 10:00 the bottom of the pitch was still in the shade but don't get fooled, once you gain the ridge, the sun is directly in your face.
P2
Pitch two is very straightforward. Climb a nice mellow slab following the edge of the ridge on your left.
There's a bolt halfway through and the slab steepens a bit towards the top.
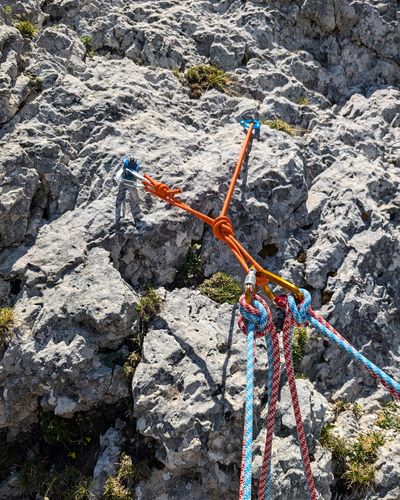
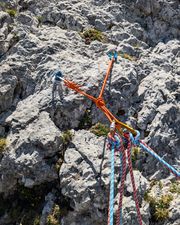
Follow the ridge all the way to where it's met by the vertical rock coming diagonally from your right. The anchor is on a sling that's tucked a bit out of sight there. You can also place a thread a few meters lower on your right, on the vertical wall to redirect the rope. It makes pulling the rope way more ergonomic.
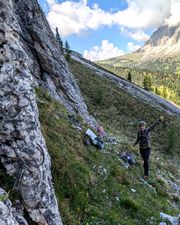
From there, cross the scree-filled channel to the left, below the obvious boulder and walk the meadow up to the second part of the climb. Just watch out for all the loose rock on the meadow, especially if anyone else is climbing the first two pitches below you.

P3
The second part of the climb starts at a sling on the left side of the scree-filled channel. Cross to the right of the channel immediately, and aim for the sling on the right side of the channel.
Climb straight up through a few bolts. The anchor is on the right side above a chockstone blocking the channel.
This pitch and the next are filled with a lot of loose rock so be careful not to kick some onto your partner's head.

P4
Cross the channel to the left and climb towards the west ridge of the tower. There's a bolt on a flake which you climb around from the right side.
Above the flake, there is a flat, scree-filled area ending in a large niche. There's a cemented ring for an anchor in the niche.
Watch out for all the loose rock as you pull the rope.
P5
Exit the niche on the left and get into the vertical channel. Bolt on the left side. Climb through the channel onto a flatter rock and then into another channel.
The second channel spits you out on a comfortable ledge with a cemented ring in a vertical wall of a huge flake.

P6
Start right of the ring and climb up on the right edge of the huge flake. There's a sling up there marking where you cross from the flake back to the main tower.
From there it's a few more moves towards the left edge of the tower. After that the climbing gets gradually easier and you end up scrambling the ridge to the top of the tower.
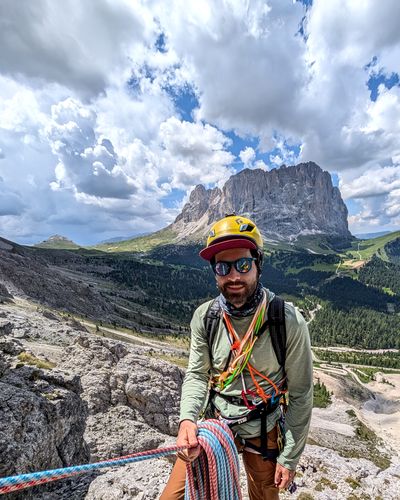
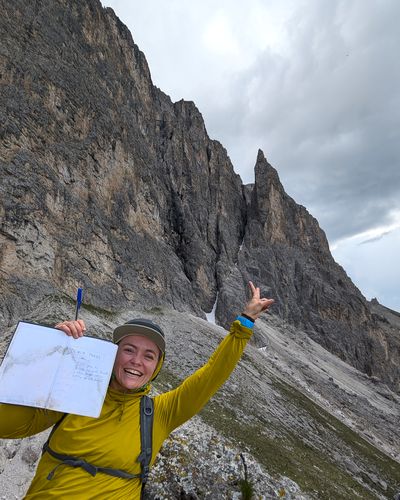
Belay off of the rock horn at the top and don't forget to sign the summit book.


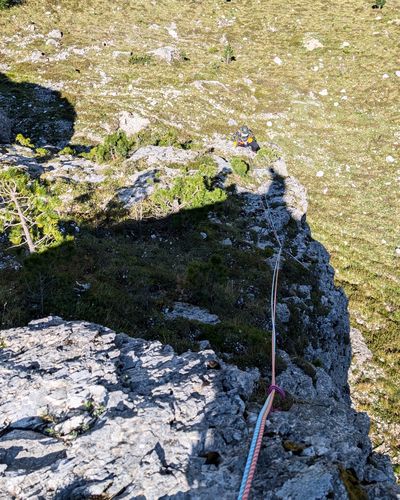
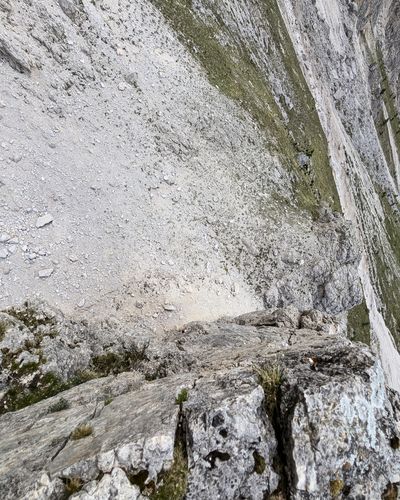
Scramble a few meters down on the right side (in the direction you climbed up) of the tower towards the rap sling. The rap sling is above the overhanging backside of the tower.
There's another smaller sling on the flatter part of the tower nearby where you can clip in for safety while staging the rappel.
The second rap station is a bit to the right, but we didn't really see it since our 60m half ropes got us easily all the way down.


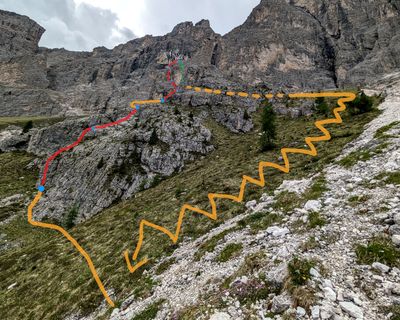
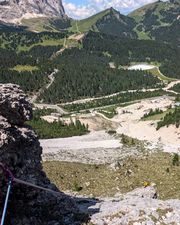
The rappel ends behind the tower. Walk in the direction of the Sella Pass (to the right with your back to the tower) and you'll see a faint trail and some cairns leading the way to the big scree slope.
Follow the trail to the edge of the scree slope and then zigzag down the steep meadow. Eventually you'll end up at the same place where you crossed the scree slope during the approach.
Take the approach trail back to the road and then hike back down to your car.
The route is somewhat sheltered by the Sella massif and Sassolungo so it doesn't get hit by storms directly. But it also doesn't get the sun unltil later in the day.
The return hike through the steep grassy meadow can get a bit slippery after rain or snow.
It's possible to easily bail from the route after the first two pitches or even halfway through pitch 4 where you climb basically by where the backside of the tower meets the ground.
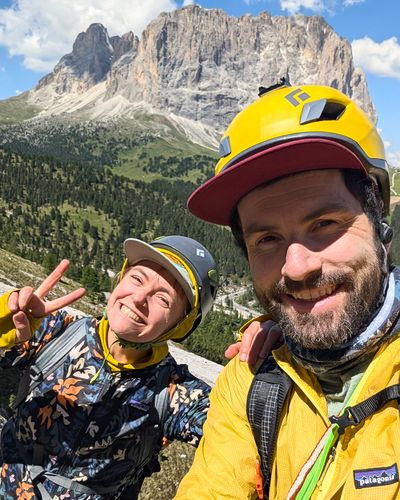
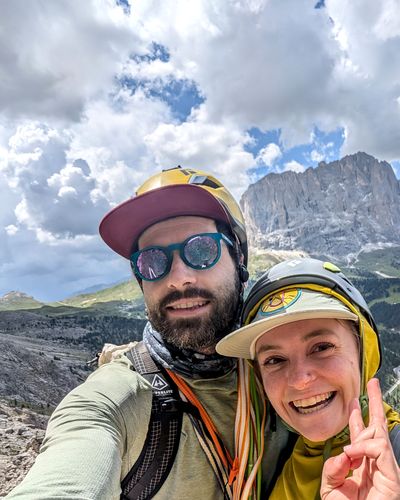
This was our third alpine trad route we did on our own and we really enjoyed it.
Reasonable approach and descent times
The route is easy to follow and has a good variety of climbing in the III - IV range. You don't feel like just scrambling roped in but you also don't feel overwhelmed by sustained climbing, especially if you're early in in your trad climbing journey.
The only downside is the loose rock on p3 and p4, especially if you get stuck behind another party.