VIA. - MAY 02, 2026 - 01

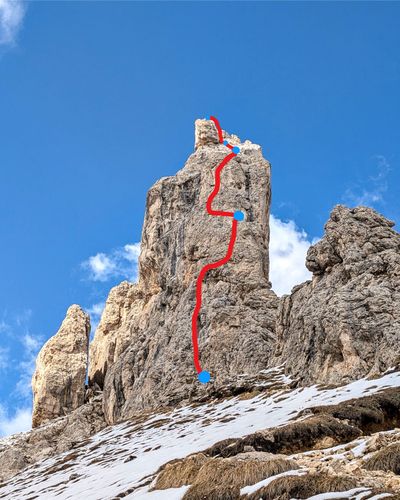
Via Spigolo Sud is a classic route in the Catinaccio group just above Rifugio Roda di Vael. Easy, short, and surprisingly scenic. In 3 or 4 pleasant pitches, it follows the south ridge all the way to the summit of Torre Finestra.
The lower half has some fun vertical climbing on good holds, while the upper pitches turn into more of a scenic slab tour. Routefinding is straightforward and the whole thing can easily be done in under two hours. As a bonus, you get to rappel through the famous rock window with a great view into the valley below.
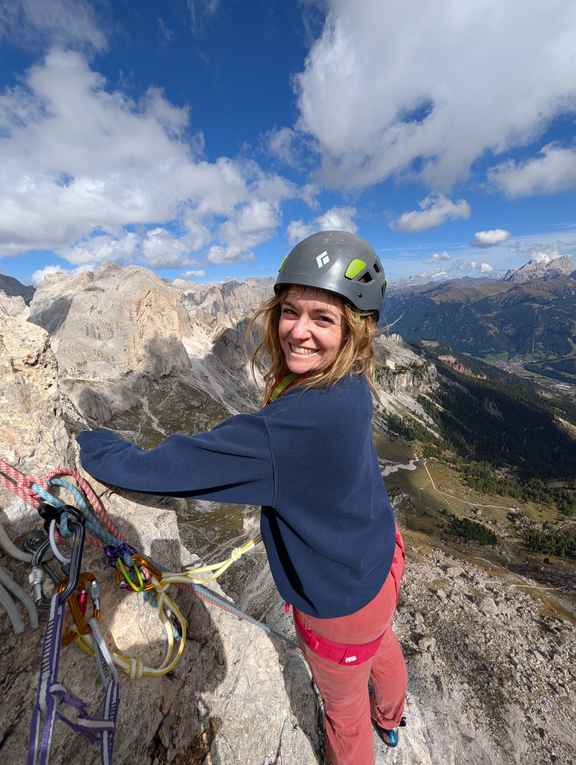
It’s the kind of route that fits almost anything. Early season opener, first alpine trad route, or maybe even a family day out.
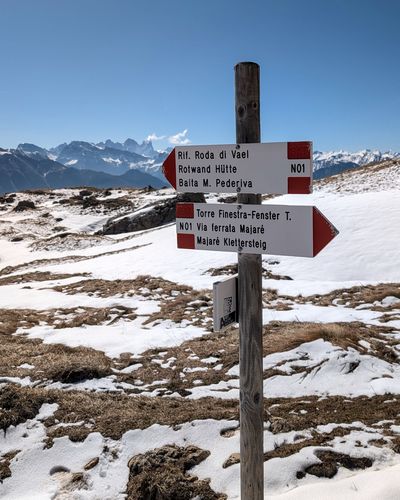
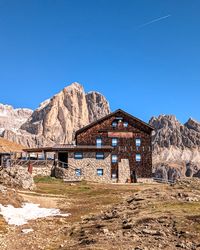
Parking • Rifugio Roda di Vael • Torre Finestra
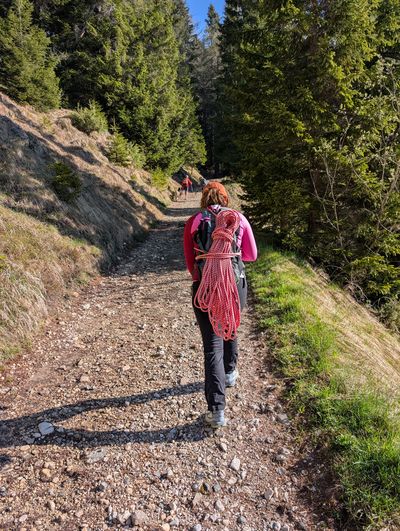
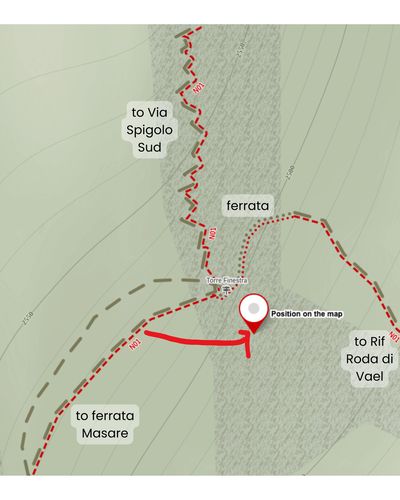
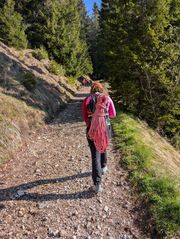
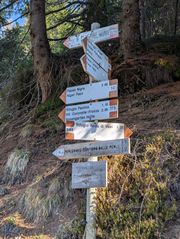
The Catinaccio group has a dense network of trails, so there are many ways to reach this route. Our favorite one is from Passo Carezza/Karerpass via Rifugio Roda di Vael.
From Carezza, there are three practical ways to reach Rifugio Roda di Vael. Once you are at the hut, the final approach to Torre Finestra is a short but steeper walk with an easy cable-protected passage.

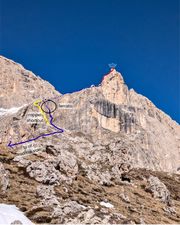


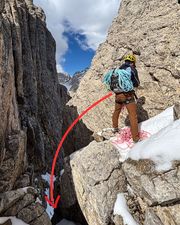
P1
The first pitch is very straightforward. Start at the sling by the approach trail. From there, you can see the first belay station above you—two bolts in a yellow rock on a generous ledge.
Climb on the left side of a channel going parallel with the ridge. There are plenty of cracks to place gear and eventually you run into a pre-tied sling.
Pass the sling and continue up on the left side of a small niche. Cross to the right above it on good holds. A few moves straight up and you should see the first belay station.


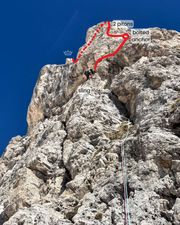


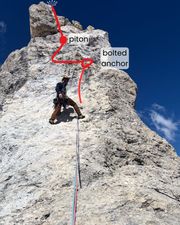
P2
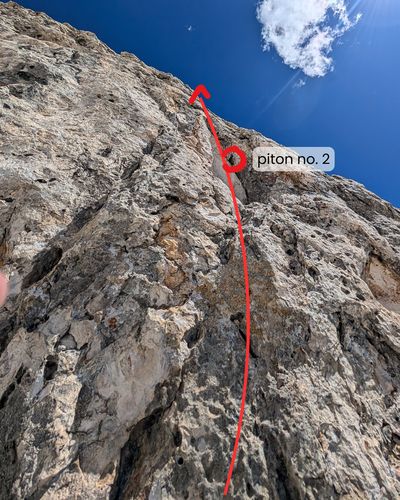
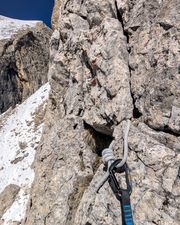
Traverse a few meters to the left of the belay station until you see a piton in a crack above you. There's one more farther up. Climb that steep section with good holds until the rock flattens out. From there, it's just a few meters of scrambling to the belay station.
This belay station has clearly been bolted later and it's not on the original topos. You can skip it but it makes it easier to communicate with your partner since it's right above the steeper part.


P3
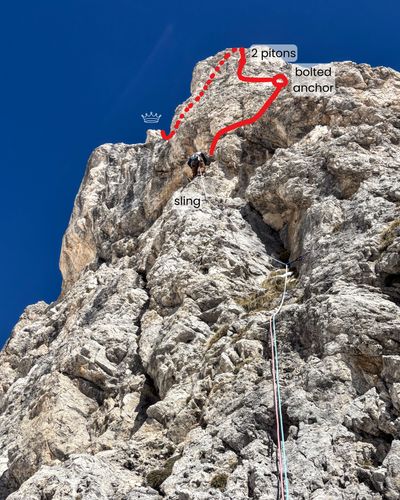
Assuming you stopped at the new belay station, then pitch 3 is just a few meters of very easy climbing on a flat part of the ridge. The next belay station is visible from the get-go, and there's one piton in the middle.
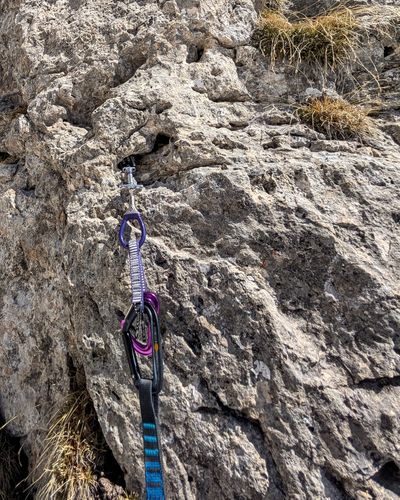
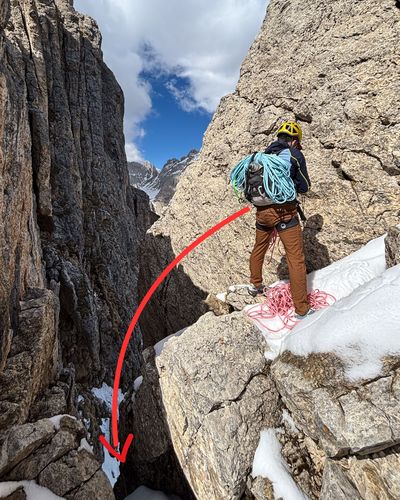
The pitch ends at a bolted anchor right by a huge hourglass thread. You can find that one on the topos, and it used to be the original anchor.
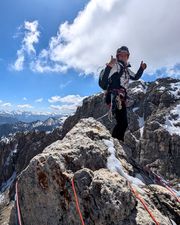
P4
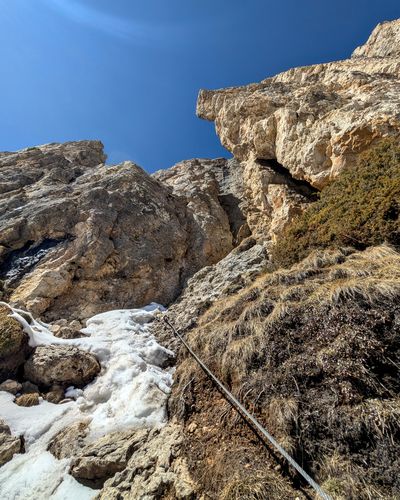
The last pitch used to be the second spicy part of the climb, but it got significantly easier after the recent rockfall.
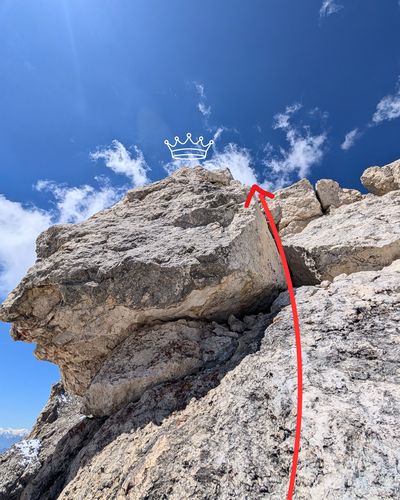
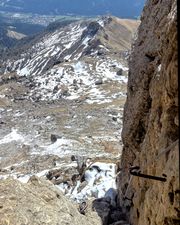
Go straight up to a visible piton just below the summit block. From there, climb the easy dihedral crack on the right side of the block. There is a sling on the face of the block, but there is also a big, unstable-looking chunk of rock right above it, so we decided to ignore it and stayed in the crack.
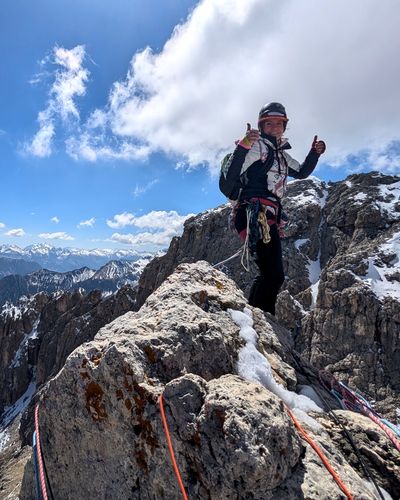
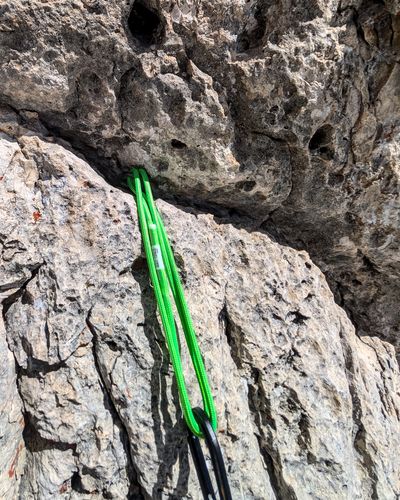
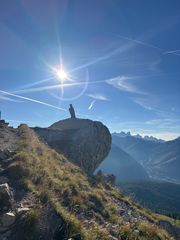
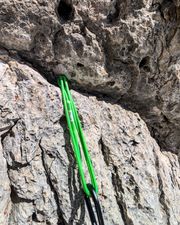
We couldn't find any bolts at the top, so we made an anchor from a quad sling over the rock horn, backed by a cam.
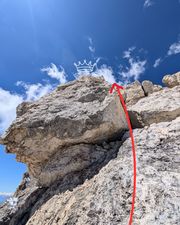

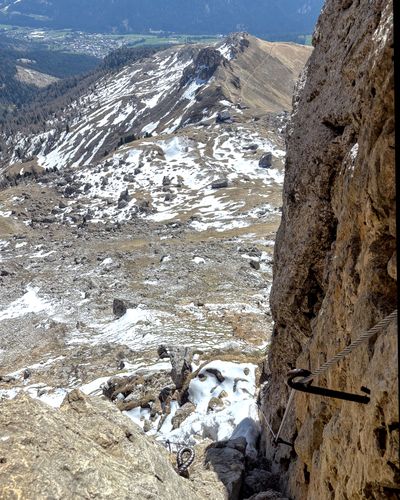
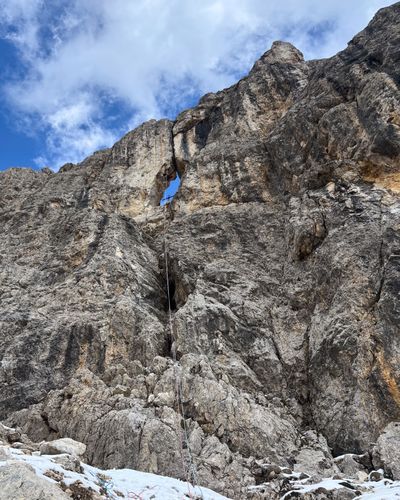
From the top you'll see a cemented ring just a few meters farther along the ridge. Use it to rappel down on the west (left) side of the ridge. A few meters below the ridge, it goes right over the window with the cross. Pretty neat.
Two 60 m ropes will get you comfortably all the way down to the meadow in one go. From there, follow the obvious trail down, and in a few minutes you're back at the base of the climb.
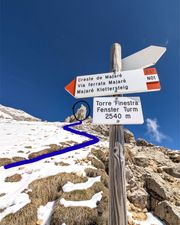
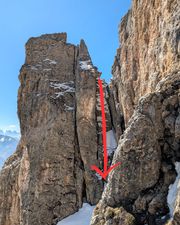
From the base of the climb, take the same trail back to Rifugio Roda di Vael. The first option is to downclimb the via ferrata. It can get really busy in the summer, but luckily you can bypass it with one extra quick rappel.
To do so, hike back to the signpost and instead of going left to the top of the ladder, take the trail going right to the Masare ferrata. After about 20 meters, there is a smaller trail going down and left (east). The trail goes below and around some rocks and ends at the top of a wide channel. At the top, on the flat face, there is a rappel ring. It should be . A single 60 m rope gets you all the way down just below the first cable section of the via ferrata.
From there, hike down to Rifugio Roda di Vael and take whichever trail you fancy back to Carezza.


The route starts at 2,600 m, so it can be significantly colder up there than in the valley.
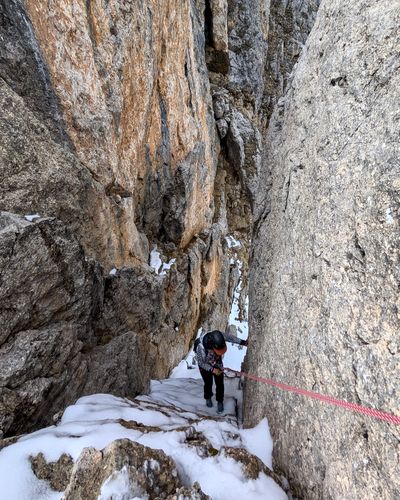
Depending on the winter, you can run into snow up there even pretty late into spring. Or you might also get lucky, like us, and be able to do it already in late April. Check recent satellite images if you want to be sure.
The approach, and the route itself, have mostly south, west, and east exposure, so it should get sun most of the day.
There are two things worth mentioning regarding the info you are likely to find online:
There was a rockfall that made the last pitch significantly easier. Now you basically just walk up the slab and then climb an easy crack to the top.
All the belay stations except for the top are now bolted. At the top you still have to use a long sling to make an anchor over the rock horn.